Backyard movie nights aren’t just for summer vacations anymore, they’ve become a cornerstone of outdoor entertaining. An outdoor home theater system transforms a patio or deck into a destination for family gatherings, neighborhood watch parties, and quiet evenings under the stars. Unlike a simple TV on a stand, a proper outdoor setup accounts for brightness, weather protection, sound distribution, and viewing angles that indoor rooms handle for you automatically. Whether someone’s adding a projector and screen to an existing patio or building the whole experience from scratch, this guide covers the equipment choices, layout decisions, and budget considerations that make the difference between a frustrating setup and one that works year after year.
Table of Contents
ToggleKey Takeaways
- An outdoor home theater system requires 3,000+ lumens brightness for evening viewing and 4,500+ lumens if the space receives residual sunlight, unlike indoor projectors that operate in controlled lighting.
- Weather-sealed outdoor speakers rated IP65 or higher should be mounted 6–8 feet high with at least 50 watts per speaker to deliver clear sound across the viewing area without walls to bounce audio.
- Proper installation includes GFCI-protected electrical outlets, outdoor-rated UV-resistant speaker wire in conduit, and weather protection like pergolas or awnings to extend equipment life and ensure safety.
- Entry-level outdoor home theater setups start at $800–$1,200, while mid-range systems ($2,000–$4,000) offer reliable performance with 4,500-lumen projectors and professional-grade components that last for years.
- Seating should be positioned 10–15 feet from the screen and 1.5 to 2.5 screen heights away, with morning and evening sun observation needed to determine if high-gain screens or scheduling adjustments are necessary.
- Start with a pull-down screen and mid-range projector to balance quality and cost, then scale up with subwoofers and motorized screens as your outdoor home theater grows more advanced.
What Makes an Outdoor Home Theater Different
An outdoor home theater isn’t just an indoor projector moved outside. Sunlight, ambient light, moisture, temperature swings, and wind create challenges that living rooms never face. Brightness matters enormously outdoors, a projector rated at 2,500 lumens works fine indoors but struggles in twilight, let alone sunset hours. Outdoor screens must handle UV exposure and humidity without warping or degrading the reflective surface, and all electronics need protection from rain, dust, and temperature extremes.
Then there’s sound. A speaker placed on a deck doesn’t have walls to bounce audio back at viewers: sound travels away and fades into the neighborhood. Outdoor speakers need higher power ratings and strategic placement to cover the viewing area effectively. Wind also affects acoustics, speakers that sound balanced on a calm evening might sound muffled once a breeze picks up.
Finally, outdoor viewing isn’t passive. Viewers arrive at different times, adjust seating as they please, and traffic moves in and out. This means the setup must work from various distances and angles, not just from the “sweet spot” an indoor theater room would prioritize.
Essential Equipment You’ll Need
Projector and Screen Selection
A projector is the centerpiece. Brightness (measured in lumens) is the first specification to nail. Outdoor projectors typically start at 3,000 lumens for evening-only use, with 4,500+ lumens recommended if the space gets any residual sunlight. Contrast ratio (the difference between darkest blacks and brightest whites) matters too, aim for at least 10,000:1 to maintain image quality even in dim outdoor light. Throw distance (how far the projector sits from the screen) determines where the unit can be mounted: a short-throw projector works in tighter spaces, while a standard throw needs distance.
The screen itself anchors the experience. Outdoor projection screens come in fixed frame (mounted permanently, clean lines, highest cost) or pull-down (manual or motorized, takes storage space, easier to stow in off-season). Material matters: look for a vinyl-coated polyester that resists UV degradation and sheds water without pooling. Screen size should match viewing distance, the rule of thumb is viewers sit 1.5 to 2.5 screen heights away, so a 100-inch screen typically works for distance of 12–20 feet. Popular outdoor projector options come in various brightness and throw-distance categories: comparing specs against your patio’s sunlight and distance constraints will narrow choices quickly.
Audio System Considerations
Audio makes or breaks an outdoor experience. A pair of weather-sealed outdoor speakers (rated IP65 or higher for moisture resistance) placed left and right of the screen creates a stereo image. Wattage should be at least 50 watts per speaker: 100+ watts works better if the space is large or windy. Placement matters: elevate speakers 6–8 feet high on the house, pergola, or dedicated stands so sound travels over seating rather than into the ground.
For a subwoofer, outdoor placement is tricky, bass travels differently in open air than indoors. A sealed, weather-resistant sub in a corner near the screen or tucked under an eave keeps bass grounded without dominating the mix. Many people skip the sub initially and add it later: it’s less critical than clean mids and highs for dialogue and music.
The AV receiver or amplifier should be housed indoors or in a weatherproof cabinet with ventilation. Keep runs of outdoor-rated speaker wire (UV-resistant, insulated) separate from power cables to avoid hum or interference.
Planning Your Layout and Installation
Start by measuring the space and shooting for seating at least 10–15 feet from the screen so viewers don’t strain their necks. Walk the area at different times of day to note where the sun hits, where shadows fall, and how ambient light from nearby structures or streets affects brightness. If west-facing sunlight floods the patio at 7 p.m., you may need a screen with higher gain (reflectivity) or scheduling movie nights after full dark.
Mount the projector on a sturdy ceiling, eave, or pergola beam, keeping it level and secure against vibration. Run cables through conduit or cable trays to protect them from weather and foot traffic. The throw distance from projector to screen should be verified before purchasing, mismatched throw and mounting height will result in a distorted image (keystone distortion), which the projector can correct digitally, though at a slight quality cost.
For speakers, aim to mount them 6–8 feet high and angled downward slightly toward seating. This placement keeps audio above rustling leaves and feet, and it improves coverage across the viewing area. Outdoor-rated speaker wire should be buried in conduit or run behind fascia if possible: exposed wire invites UV damage and snags.
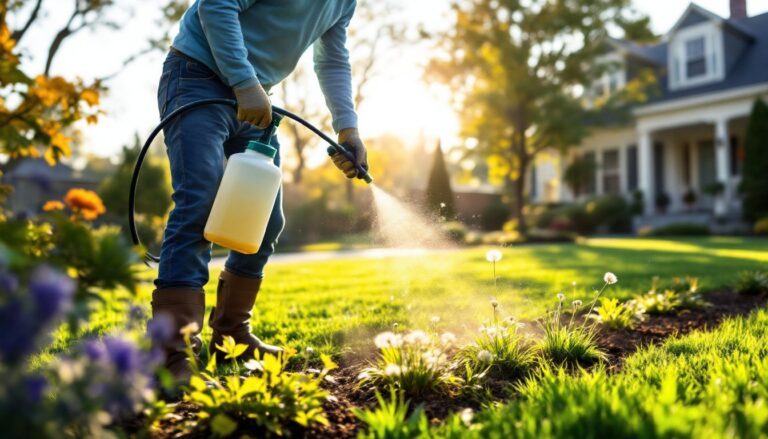
Electricity must be GFCI-protected (ground fault circuit interrupter) per the National Electrical Code (NEC). Any outdoor receptacles within 6 feet of water or in wet areas need GFCI protection, this is non-negotiable. If running power to a projector mount or remote amplifier, use 10 AWG or larger wire for runs over 50 feet to avoid voltage drop. If you’re uncomfortable with electrical work, hire a licensed electrician: outdoor wiring mistakes create serious safety and fire hazards.
Weather protection is essential. A pergola, roof overhang, or retractable awning shields the screen and seating from rain and direct sunlight, extending equipment life and viewer comfort. If the projector must stay outdoors year-round, a weatherproof enclosure or projector cover is mandatory in cold or humid climates. Top outdoor projectors for 2026 often include IP ratings and environmental specs: check these ratings before committing to a permanent installation.
Budget-Friendly vs. Premium Setups
A entry-level outdoor theater can start around $800–$1,200: a decent 3,000-lumen projector ($400–$600), a basic pull-down screen ($250–$350), and a pair of budget outdoor speakers ($150–$300). This works for small patios and evening-only viewing, though brightness and sound won’t impress a large group or handle residual sunlight well.
A mid-range setup ($2,000–$4,000) upgrades to a 4,500-lumen projector, a fixed-frame screen, proper outdoor-rated amplified speakers, and professional-grade cabling and mounts. This tier gives reliable performance, better image and sound quality, and durability that lasts years without constant maintenance.
Premium systems ($5,000+) include 5,000+ lumen projectors, large fixed frames, separate amplification, a dedicated subwoofer, and weatherproofing features like motorized screens and heated equipment enclosures. These systems rival indoor home theaters in picture and sound quality.
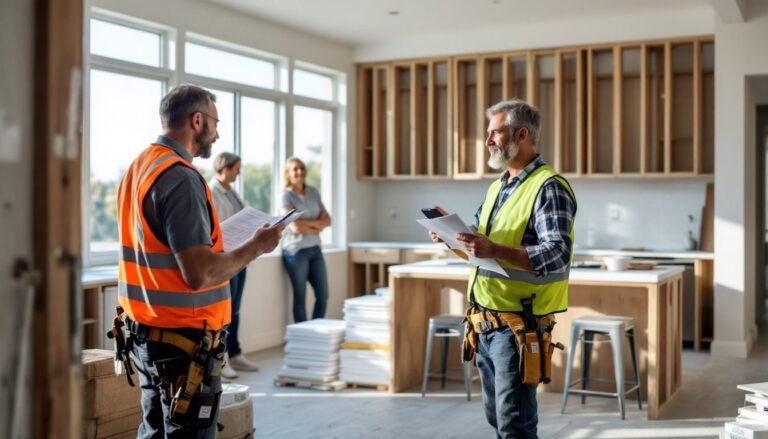
Cost drivers beyond equipment: installation labor (if hiring an electrician or AV technician), structural work (building or reinforcing a screen frame, running conduit), and weather protection (pergola or awning installation). A contractor can run $1,000–$3,000 just for mounting and cabling.
Money-saving tips: Start with a pull-down screen instead of fixed (you can upgrade later). Pair a mid-range projector with a high-quality screen, image quality depends heavily on the screen, not just the projector. Wire everything correctly from day one to avoid costly rework. Outdoor TV options reviewed by major tech sites often benchmark value alongside premium models, helping identify which brands hold up best over time.
Conclusion
Building an outdoor home theater is achievable for homeowners willing to invest time in planning and a reasonable budget in equipment. The key is matching brightness, sound, and weather protection to your climate and viewing habits, then installing it safely and securely. Start small, prioritize quality where it matters most (projector, screen, and sound), and scale up as your comfort and confidence grow. With solid equipment and thoughtful placement, a backyard theater becomes a season-spanning destination that returns value every time friends and family gather for a show.